


How to Caulk Like a Pro
Like painting, caulking is one of those home improvement projects that many people assume is quite easy, requiring no instruction. In reality, most people simply have never learned the correct way to apply caulk, so, all too often, the job ends up being a mess. If you learn a few simple steps, though, your caulk jobs will look like they've been done by a pro.
Before You Begin
Many people are surprised to learn how many varieties of caulk there are to choose from. It's important to choose a product that matches your needs:
- Acrylic latex caulk: This is a great general-purpose product that is paintable and easy to clean up with soap and water. It is best used in dry areas or in areas where it can be painted over to protect it from moisture. It is best for indoor uses, such as sealing around baseboards and wood moldings.
- Latex caulk with silicone: This is a basic acrylic latex caulk with added silicone to give it better water resistance. It is generally paintable, though it doesn't accept paint quite as readily as simple latex caulk. It is an excellent caulk for both indoor or outdoor use. Cleanup is easy with soap and water.
- Pure silicone caulk: This is a somewhat more expensive, premium caulk that is ideal for high-moisture situations, such as tubs and showers. It does not accept paint but is available in various colors to match your needs. It is a solvent-based product that requires mineral spirits for cleanup.
- Butyl rubber caulk: This is an outdoor caulk often used to seal gutters, flashings, roof repairs, or similar applications. Cleanup requires mineral spirits.
- Refractory caulk: This is a high-temperature sealant often used for fireplaces and other high-temp applications. Both latex and solvent-based products are available.
- Masonry repair caulk: This is a highly flexible caulk used to seal seams in brickwork, stucco, and concrete slabs. Some types are latex-based, while others are solvent-based, requiring cleanup with mineral spirits.
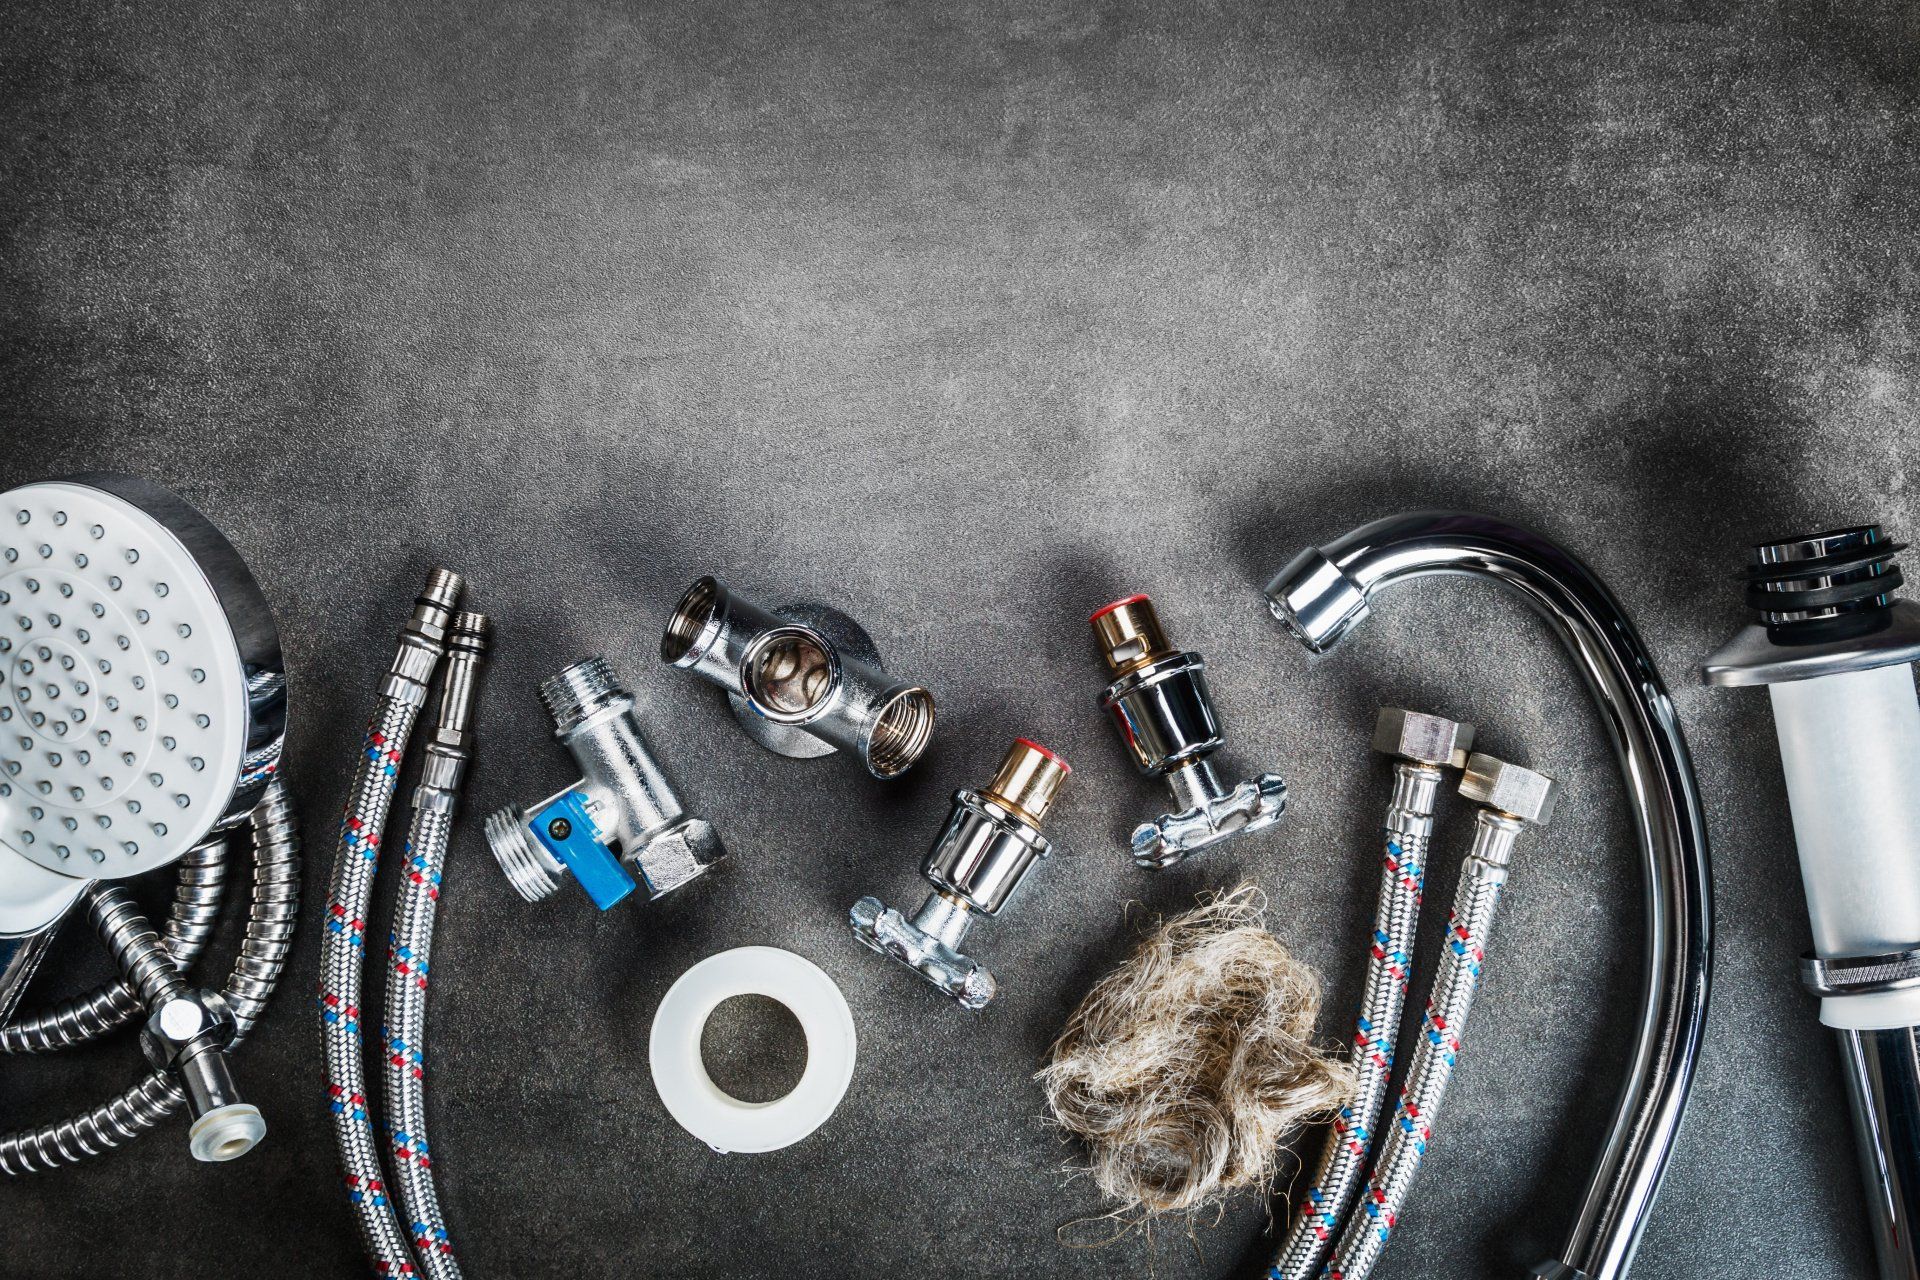
The type of caulk gun or dispensing tool you use is also an important decision. Caulks can be purchased in either squeeze tubes or in cartridges that are loaded into a caulk gun. The pros typically use cartridges and a smooth-action caulk gun (often known as a dripless caulk gun), both to save money and achieve the best results.
What You'll Need
Equipment / Tools
- Retractable razor blade scraper
- Caulk removal tool
- Putty knife or 5-in-1 tool
- Smooth action (dripless) caulk gun
- Shop vacuum
Materials
- Caulk
- Rubbing alcohol
- Cotton rags
- Blue painter's tape
Instructions
1) Choose the Right Caulk and Dispenser
Choose the right caulk and dispenser based on the needs of the project (see above). Some things to consider include:
- Will you need to paint over the caulk?
- Will the caulk need to stand up to moisture?
- Are you applying the caulk indoors or outdoors?
- Is soap-and-water cleanup important?
2) Remove Old Caulk and Clean the Surface
Removing the old caulk (as needed) and preparing the surfaces is very important for an effective caulk application and repair. To prep the surfaces, remove the old caulk with a retractable razor blade scraper.
For caulk joints in corners, such as where wall tile meets a tub, sink, or countertop, a caulk removal tool works great. Depending on the age of the caulk job and the location of the caulk bead, a putty knife or 5-in-1 tool can also be useful.
Use a shop vacuum to remove all debris from the joint and the surrounding area. Finally, clean the surfaces with a rag and rubbing alcohol. Porcelain or ceramic surfaces must be perfectly smooth, clean, and dry in order to accept new caulk.
3) Tape the Surfaces
Apply strips of blue painter's tape to mask off both surfaces at the point where you want the edge of the caulk bead to stop. Make sure the tape is straight, and use long sections of tape, not short pieces. The joint will look best if you tape to create a fairly thin joint, about 1/4 inch in total width. With uneven joints, the caulk bead may need to be wider, up to 3/8 inch.
Press down firmly along the inner edges of the tape. The goal is to seal these edges so caulk cannot seep beneath it. This can be done with your fingernail or a wooden craft stick.
4) Apply the Caulk
Open the caulk tube by cutting the tip of the nozzle at a 45-degree angle, using a utility knife; insert a long, clean nail or wire into the nozzle to puncture the inner seal. Poke through the seal a few times to ensure a smooth flow of caulk. (Some caulk guns have a built-in snipper to clip the tip of the caulk tube, as well as a puncture wire to break the seal.)
Apply the caulk at a 45-degree angle between horizontal and perpendicular. Make sure to squeeze hard enough to force the caulk fully into the joint.
Draw the tip of the caulk tube along the length of the joint as you slowly squeeze the handle of the caulk gun, working at a speed that is slow and consistent. The smoother the initial application, the better the end results will be.
Tip
Cut the nozzle closer to the tip for a narrower caulk bead or farther down (toward the tube) for a wider bead.
5) Smooth the Joint
Wet your finger with either rubbing alcohol (for silicone caulk) or water (for latex caulk). Also, dampen a corner of a cloth rag with either water or alcohol, as appropriate. The alcohol or water will serve as a lubricant and thinning agent as you smooth the joint.
Using light pressure, smooth the caulk joint, working from one end to the other. As your finger becomes laden with excess caulk, wipe it off with the dampened rag and rewet your finger. Continue the smoothing process until the entire taped section you're working on is finished.
Inspect the joint, and if there are any gaps, apply a small amount of additional caulk and smooth it with your finger.
Tip
If you dislike the idea of getting caulk on your fingers, you can use a rounded craft stick (popsicle stick) instead of your finger or wear a tight-fitting latex glove.
6) Remove the Tape
Immediately remove the blue painter's tape used to mask the joint. Remove the tape away slowly, and pull it away from the joint at an angle, not toward the joint. Take care not to allow wet caulk from the tape to get onto surrounding areas.
Let the caulk cure fully, as directed by the manufacturer, before getting it wet or painting it. There is often a difference between the "dry time" before you can paint over caulk, and the "cure time" before the caulk can be subjected to water contact. Some latex caulks are ready to paint within 30 minutes, while silicone caulk may require several days of curing time before it should be subject to water contact.
Source: https://www.thespruce.com/how-to-caulk-like-a-professional-1824844

Share On: